A couple weeks ago, I showed you my workbench with some silicone molds I made using fresh flowers and plants from the yard.
You can see it here if you like.
I wanted to share today how I have started to use them.
I tried to show you the mold with the polymer pieces made from each mold.

The funny thing about the process is that sometimes I think the mold turned out great or not so great.
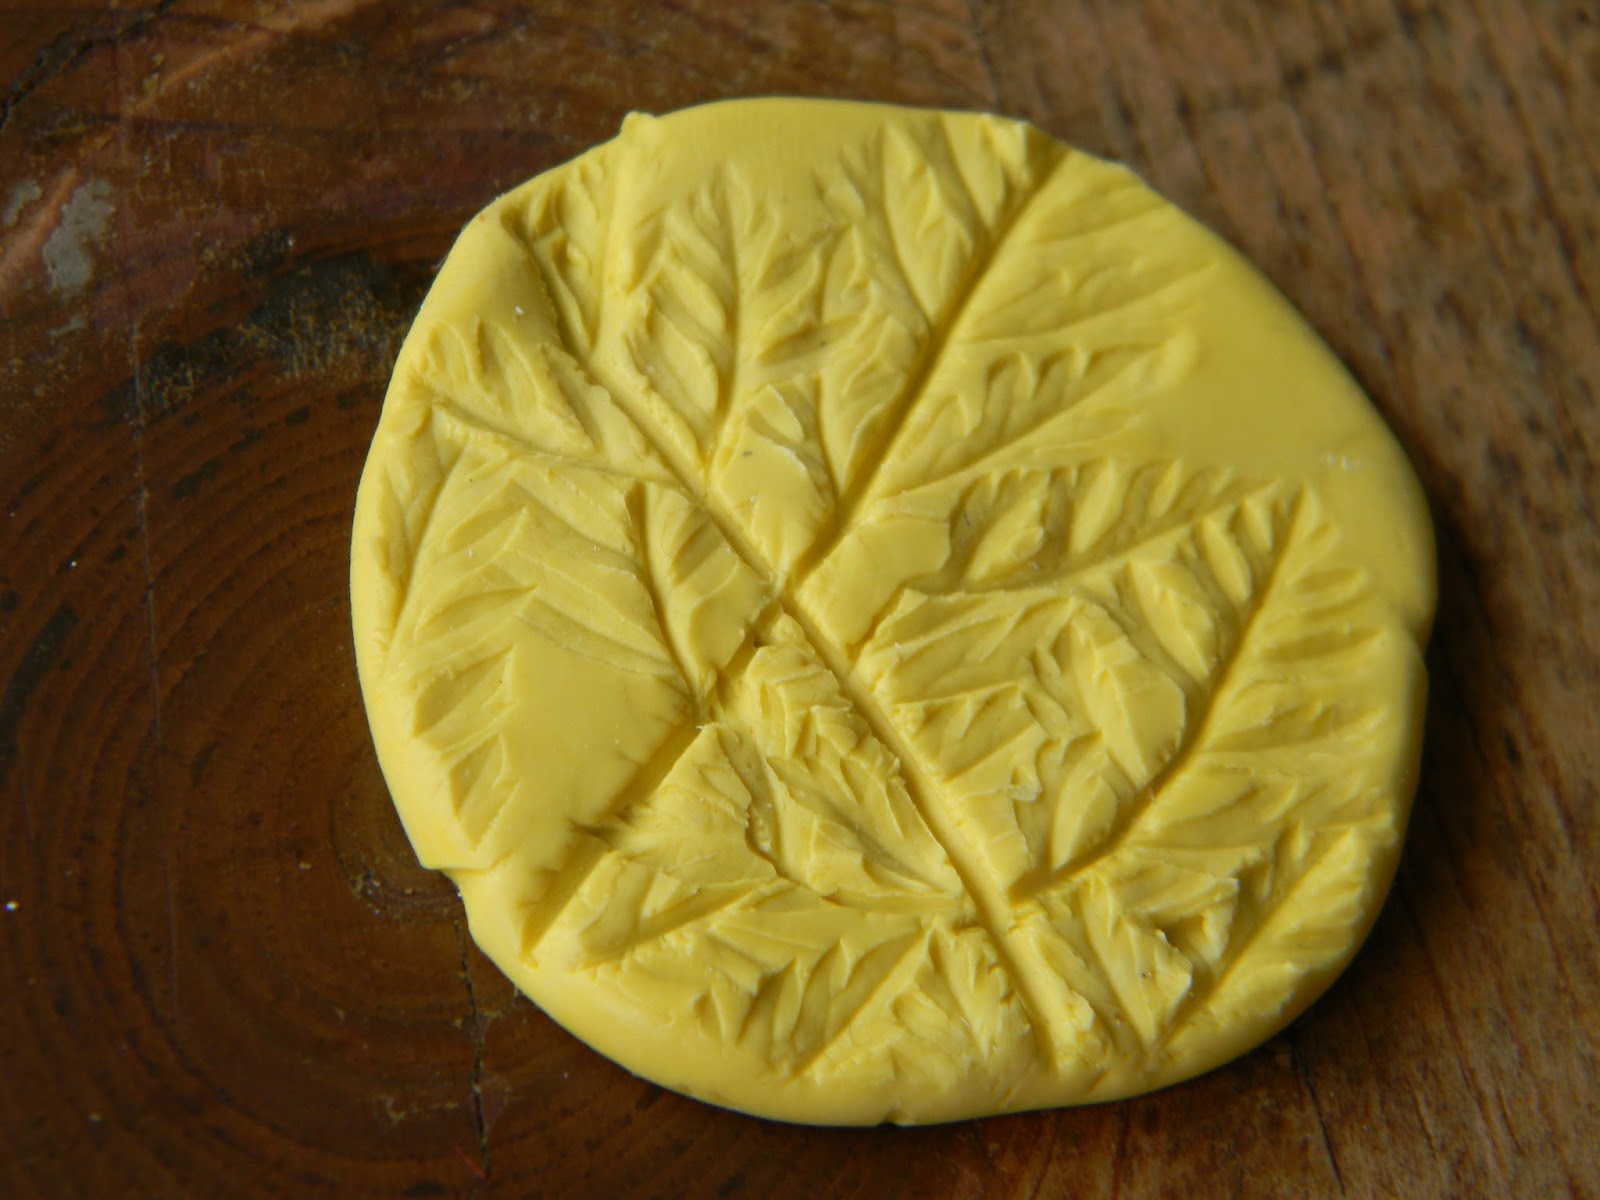
Then when the clay is molded in them, I may completely change my mind.
For example, the one below has more detail than I originally thought.

This first batch of pieces has a variety of purposes.
The double-holed pieces are intended to be bracelet disks.

This next mold was made from clover...weeds.
But I love the way they turned out.
I made pendants and little clover beads...

More weeds....
Aren't they lovely?

The next mold I was meh about.

Once I saw the molded pieces, I was in love.

How cool are these?

It is fun to see how you can change the design by changing where you push your clay on the mold.

I like to add bails to some.

The next mold I made with lavender...a favorite of mine.

I love the way the mold turned out.
Once I actually molded the clay, it did not have as much definition as I originally thought.
I made some lavender chips or petals.

I also rolled some to make beads.

They look completely different depending on how thick you roll out the clay before molding.

These are going to be so much fun to paint and color and finish.

I also made some lavender pendants.

This mold looks promising...

What a delightful little meadow of wildflowers.

I love disks with holes in the centers for bracelets.

I varied the size of some of the holes.

I used yarrow for this mold.

The detail in the molded pieces is remarkable.

I love deep definition...

Lots of variety just from one mold.

I made some more of those chips/petals...

Even just the foliage from plants can be lacy and lovely.
More thin petals...

Last but not least, these pendants.

Next steps: color and finishes.
I'll show you how they look when they are done.
Until then, thanks for stopping by....
No comments:
Post a Comment